")

 Deutsch (Deutschland)

Installations
The prices quoted are guide prices and may vary if additional work is required. Each additional hour of labour will be charged at €110 incl. VAT. These installation costs are subject to the vehicle being in its original condition. Please inform us in good time of any modifications!
Canopies

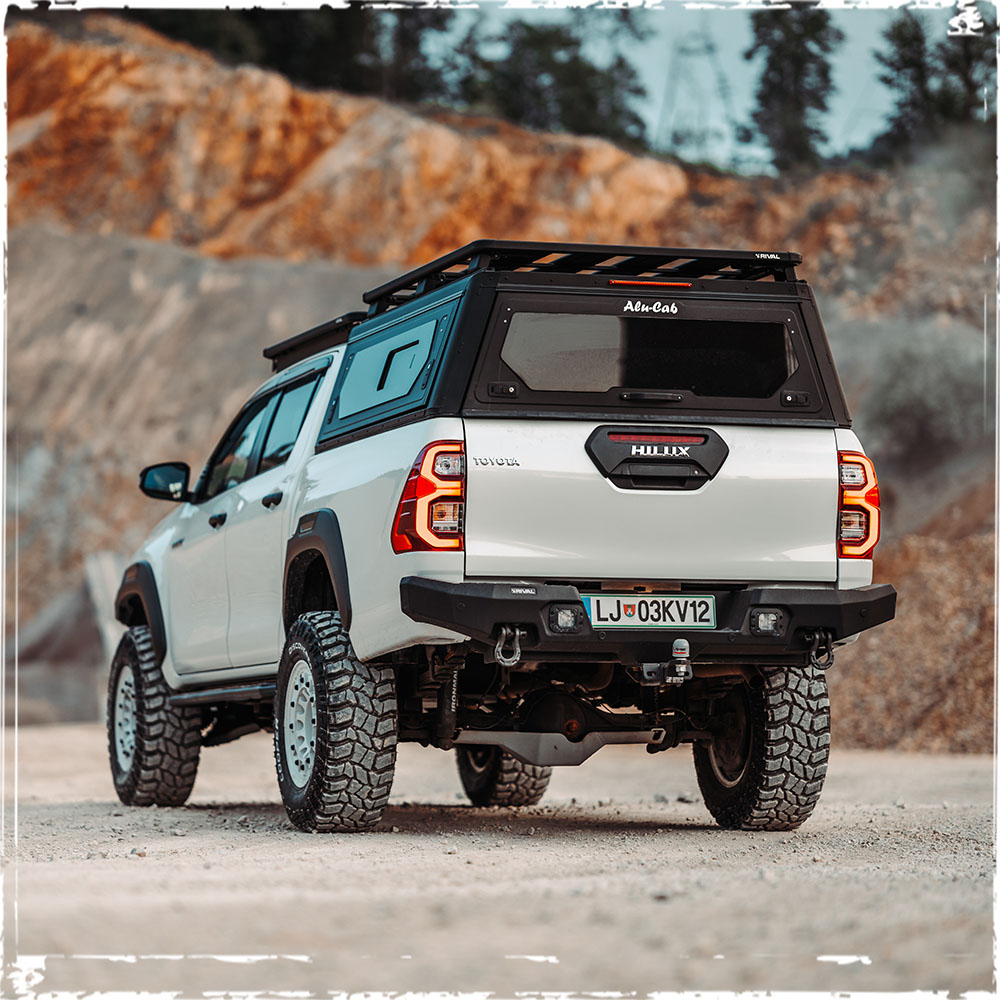
Almost all models are fitted using vehicle-specific brackets. The wiring for brake lights and interior lighting both cost extra and are charged in addition to the simple hardtop installation.
Grille-Kits
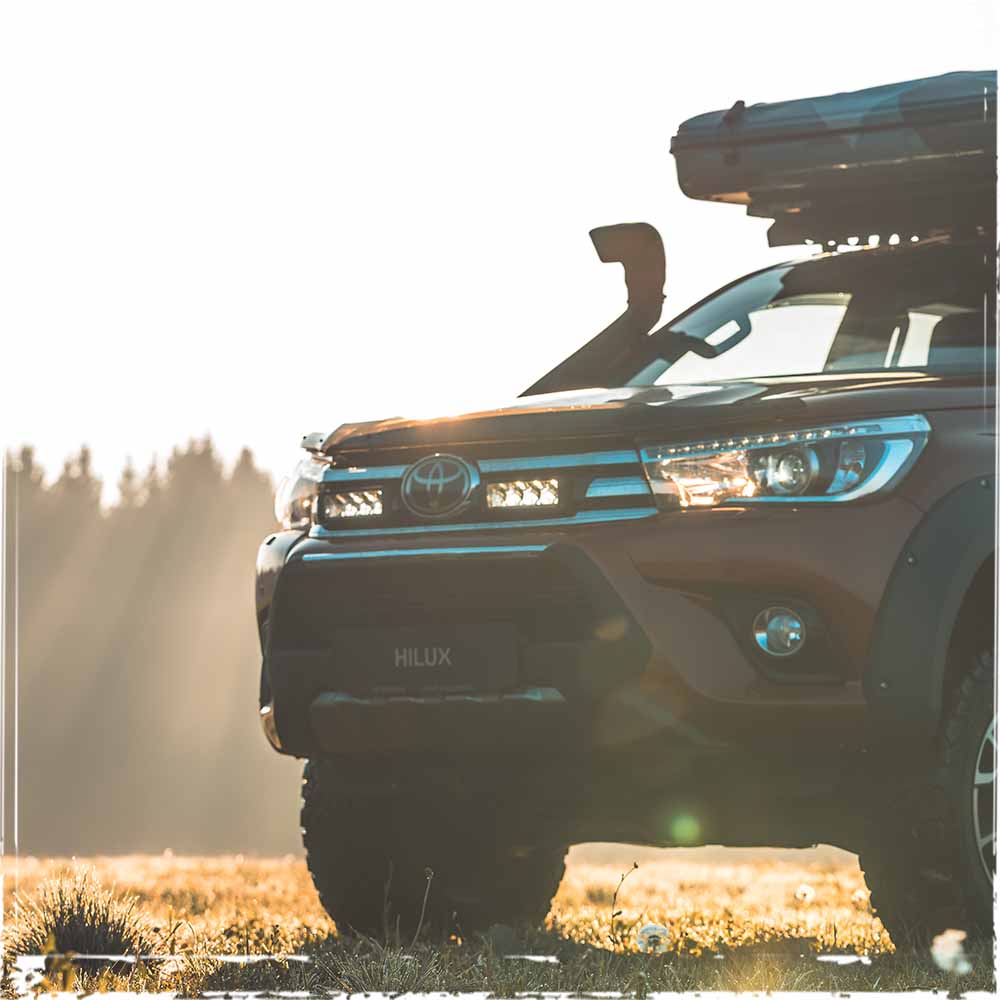
With the Lazer Lamps headlights you can achieve a high light range to have a good overview of the roads, especially at night! Here at Genesis Import, we fit the Lazer Lamps grille kits with different lamps.
Canopy Camper
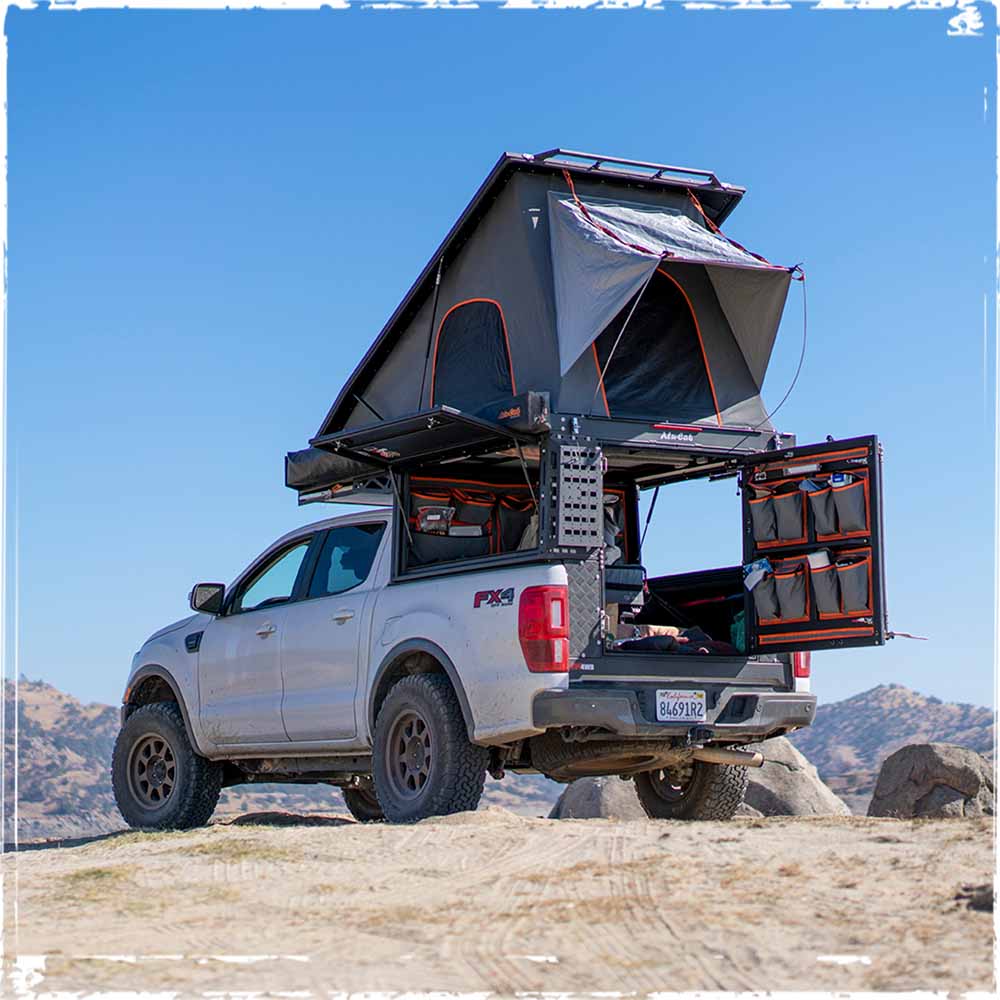
Almost all models are fitted using vehicle-specific brackets and no additional holes are required (with the exception of the LC79). Attaching additional accessories costs extra and depends on the time required.
Suspensions

We install Ironman4x4 suspensions with ABE for many different vehicles in various spring rate combinations. In addition to suspension installation, we also offer wheel alignment and underbody protection installation.
Roof Tents

The Alu-Cab and James Baroud roof tents are best mounted on Alu-Cab crossbars. Depending on the roof tent selected, additional accessories can be fitted.
Khaya Camper
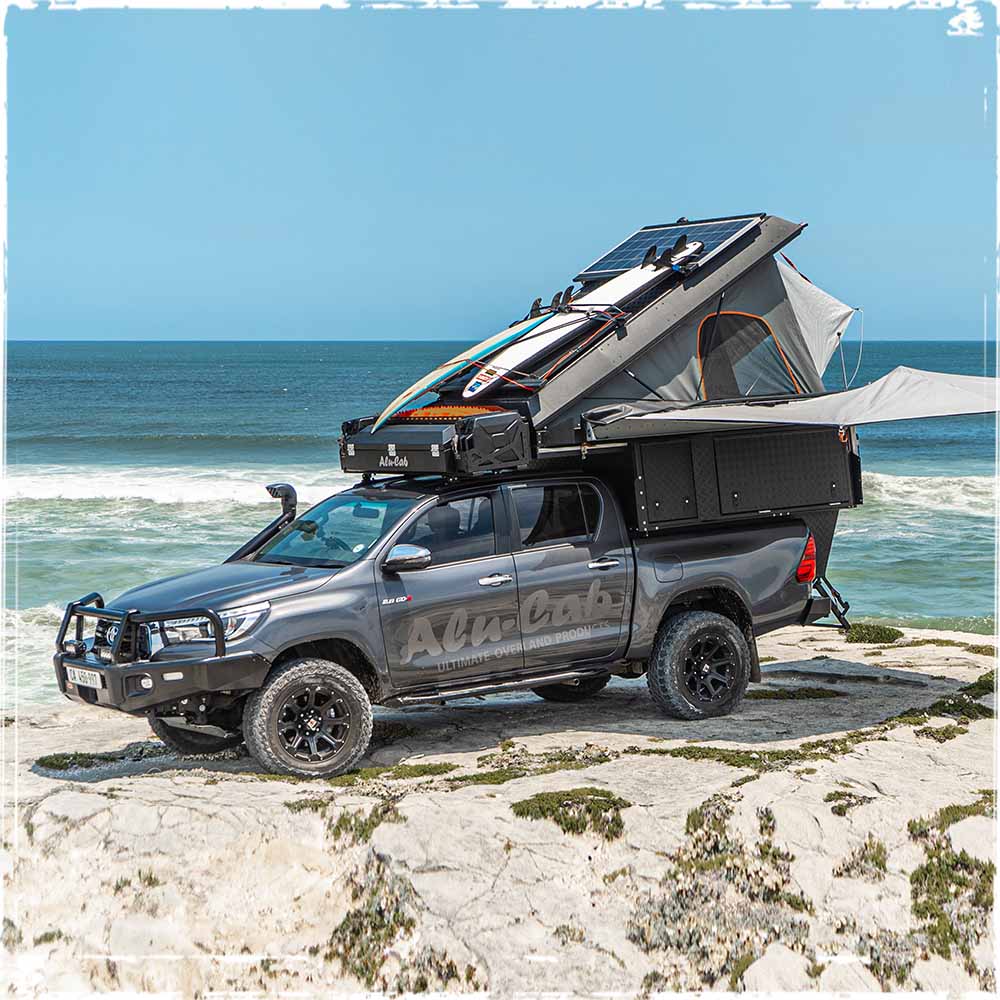
The installation also includes the electrical connection of the cab to the vehicle. The tailgate must be removed beforehand. We jokingly call this assembly a "wedding".
Awnings

For this type of installation, it is particularly important to have the right brackets! It always depends on what the awning is to be mounted on.
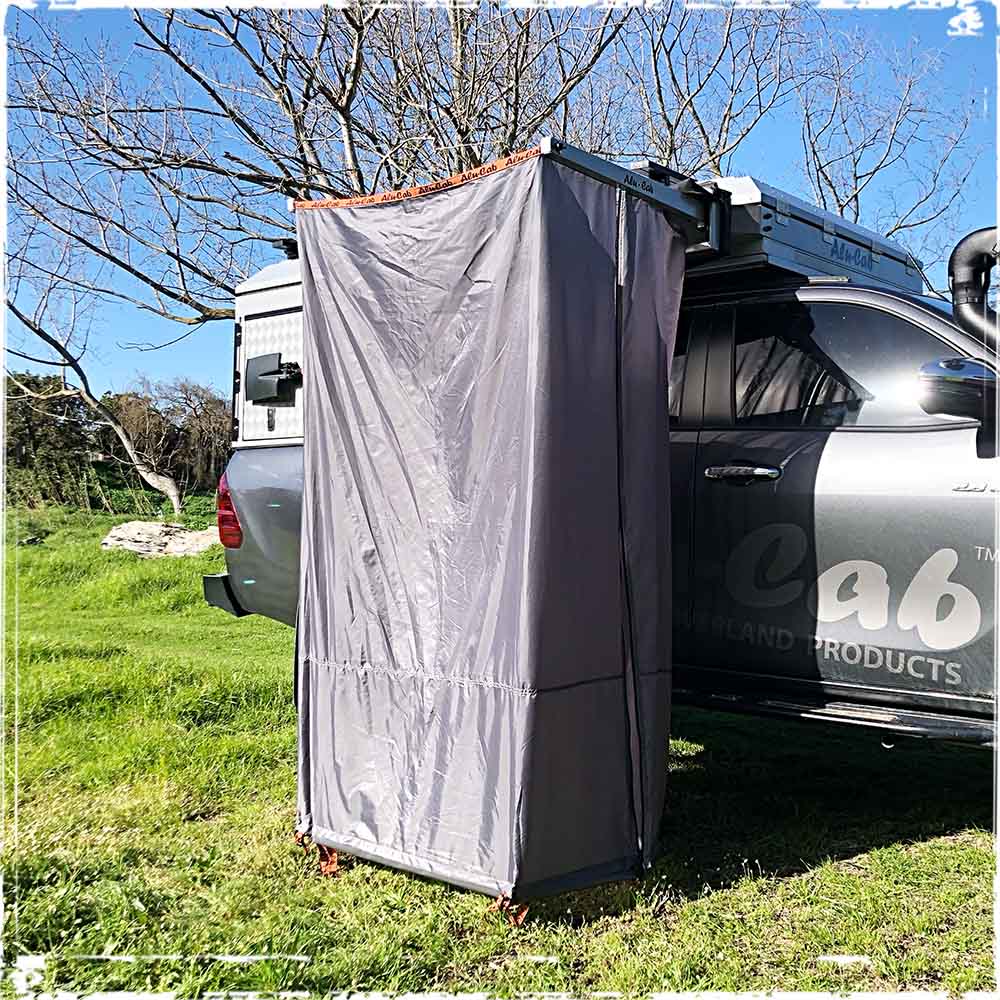
Shower Cubes